Visar inlägg med etikett tutorial. Visa alla inlägg

torsdag 15 januari 2015

Zaku Tutorial 0.1

Howdy,

I have gotten a lot of questions about how I painted my Zaku. so this is my respond to all the questions from the base cote to the pigment ect i hope that this will awnser some of the questions. And also be to some sort of help keep in mind that you can apply this technique to all sort of models it works well for all table top minis.


If you have any questions just post them here or over at FB in this post and i will get back to you.

Tools


  • Paint brush
  • Sponge


Colours


  • Dwarf Skin (VMA)
  • Blood Red (VMA)
  • White (VMC)
  • Black (P3)
  • Cole Black (P3)
  • Dark Fleshtone (VMC)


Pigments


  • Crab. Black
  • Light Sienna
  • Chrome Oxide (green)
  • Broum Iron Oxide


The base cote is a mix of Dwarf skin and Blood Red id say the mix is about 5/1 The red has strong pigments and i want to keep the colour in a peach sort of feel. If you look at the arm you can see that the mix was not perfect and that some parts have more red.

This is the first step i have dabd on all the colours whit a sponge. Make sure to apply the paint random and don't over load the sponge then you will get big blobs of colour and that will look bad. you can also drag the sponge randomly over the armour to get small lines. This will make it  look like scratches. (Colours: Main/ Cole black The rest: black, DF)

It is now time to give the armour it´s first layer high light this is done whit airbrush the colour is the base cote. It is important to keep it  nice and tightly. 

Now that the first layer is on it is time to put on the last high light this is a mix of the base colour and white 1/2. Now spray that on but make sure not to over spray it the previous layer you want to keep this layer a bit smaller. If you do over spray just go back whit the base colour and that should solve the problem.

now that all the Airbrushing is done it is time to work in some pigment. I start whit a thin layer of the brown pigment this is a good base to mix in the other colours. (Note: you can edit pigment but ones they are on you cant go back. There will always be some pigments left and this will change the colour a bit) I like to paint in my pigments so they are all wet this also makes it easy to mix them. now you just start to randomly mix different colours. To take back the white area i dry it of whit a Q-tip easy and fast you can also dab your finger if you like.
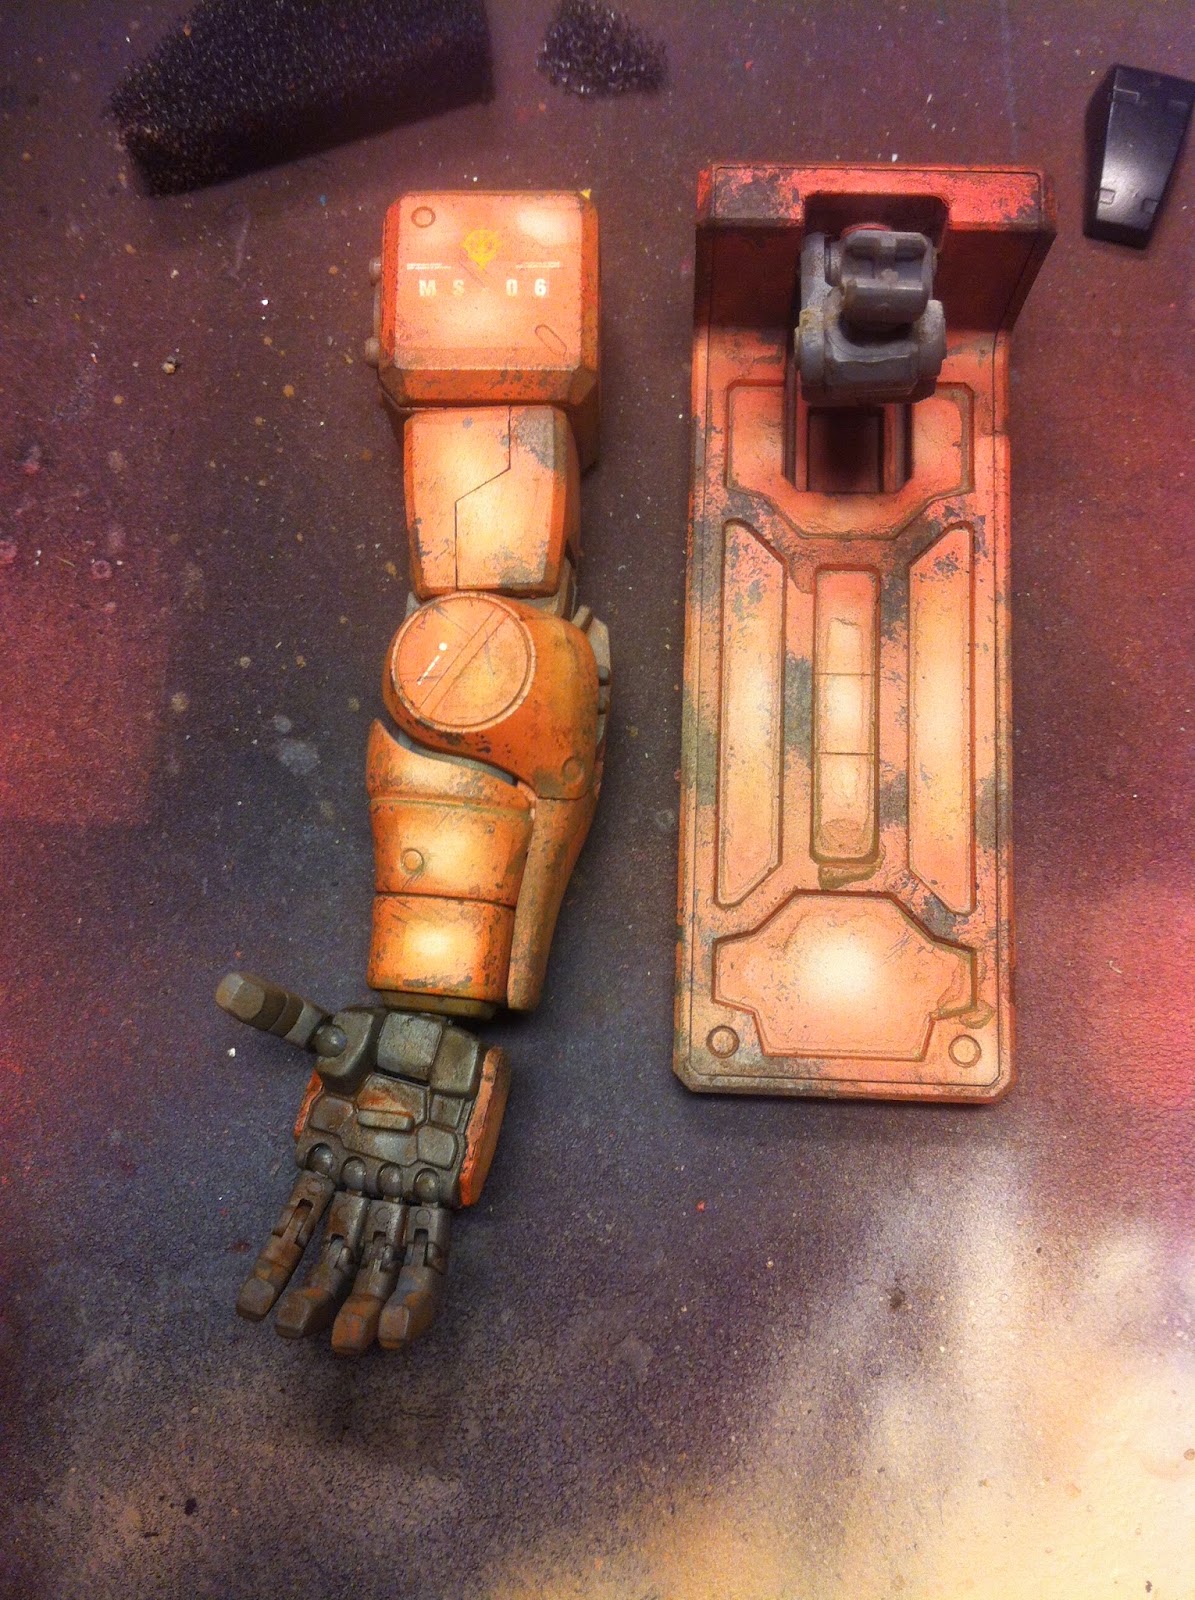
And this is how it looks when all the pigments are dry. You will get that nice dirt look and you can feel the gran of sand as well. If you want to over kill it you can apply some oil paint´s. just keep in mind that the oil will take longer time to dry and can be hard to work some times.


fredag 6 maj 2011

Part 1 - Small base

Aloha ppl,

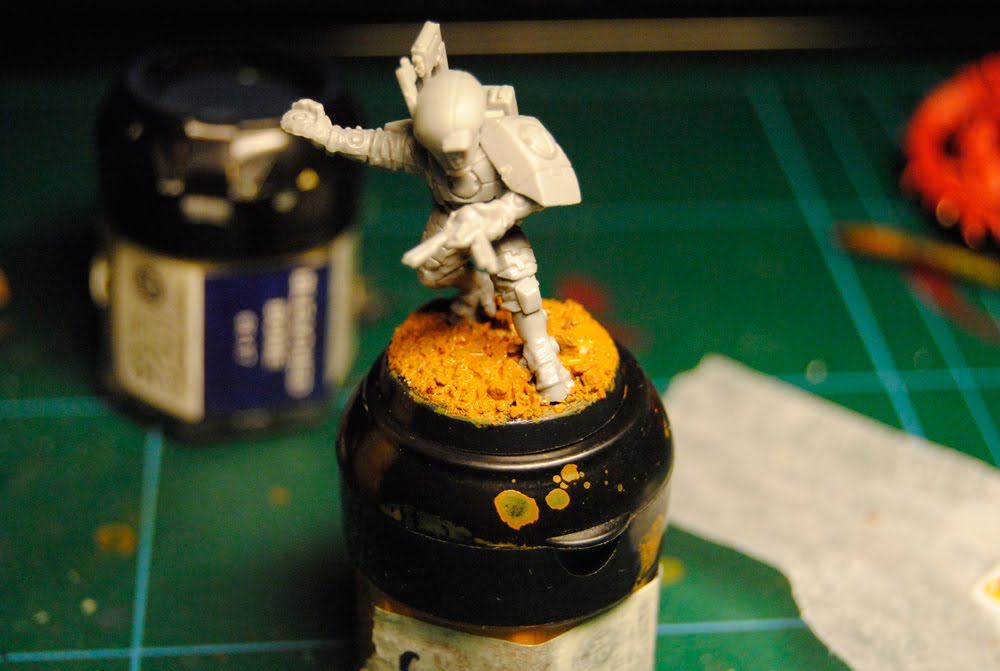
Here is my first part of "how i base" it´s not that fancy but it get´s the job done and the result is nice for TT + so here we go.


This are the tools that you will need, PVA glu, a old brush for the glue and some mixing paper. i have the sort that you bake Cookie on.
I have some different types of sand to mix it up on the base and also give it some more life. And i like to play around whit the sand to get different FX.
Be for i put done the model in the sand, i give my bucket a good shake so that you get the big rocks on the top and the smaller on the side, this gives me more control of what size i get on the base. you need to mix between big and small rocks.
When i put the glue on the base i give it a good big think layer of glue so that i can press down some extra sand and, also to get them big rocks to stick. It sucks when you drybrushing and the rocks just falls of the base =(
Now the sand is on, and you can se the mix of sand here. Gives it a lot more texture to i think.
And now to paint it up, what i do is that i have old brown that i just use for my basing. And i mix the color and water in the lid. i think that is the best way and the fastes way to, then i don´t need to bring out my wet pallet. Mix in the lid and get the color sorta like a wash so it gets in there fast and easy. But you will need to put down two cotes or so.
Here is the paint, to speed up the drying part take out a hair dryer that is what i do.
When the paint is dry i bring out my old buddy Devlin mud ( you have to love it)
Give the base a good layer of the wash so that it is nice and dark, we want to make it look like mud and dirt now.
This are the colors that i use for the dry brushing part of the base. the brown is my base color as well.
mix the brown and bone 50/50 mix and dry brush it on.
Last i put done just a pure bleached bone in the center and a bit on the side, don´t dry brush over the lat work you did or it will not look that good.
Flock it baby, you know how to do it. For the ppl that do not, hit it whit some PVA glue and then dab on some flock. easy as pie man.


And that is that, this is how i base for my TT minis, fast and easy and you get some umf in it as well. O and dont forget to paint the side of the base i paint my in black but take what ever color that rocks your world.

PS: sorry for my bad English

love muffin ^^

working on tutorials

Aloha ppl,

im now working on some tutorials that will soon be done. It will be a two part on how i base my minis one simple and one more advance base, they will be done later to day i think. Will post them up as soon as i can they will be in Swedish and English.

that is all for now.

muffin

fredag 8 april 2011

How to strip minis


Aloha ppl,

It is tutorial time here at muffins happy corner and today we will learn how to strip minis, or the way that i strip minis. I did this tutorial cuz i get this question a lot, so here i go.


This are the tools that i use when working whit my minis. Gloves to protect my hands and a toothbrush to scrub the minis clean from the paint. And a small bucket to poor in the ajax that i need to dip down the minis. That is all the tools that you need to get them rdy for action.
This is the product that i use to clean my models form the unwanted paint. you can find it at your local supermarket for around 35-40kr (about 5$) is a bargen i tell you :P
Here we can see two hive guards before i drop them down in to the ajax that will strip them of all the paint. I will post some more pic´s on other models that has more paint and some that are dipt to show that it works on them to.
I let them sleep in the bucket over night so that they can suck up all the chemicals.
When that is done i scrub then whit the toothbrush for a while and wash them in some watter, give them a another go whit the toothbrush and wash them one last time. after that i let them dry and we are all done. Easy and simple!!

Well that is the way i clan up my minis, i hope that this will be to some help to some one out there.


muffin

lördag 25 september 2010

Tervigon question

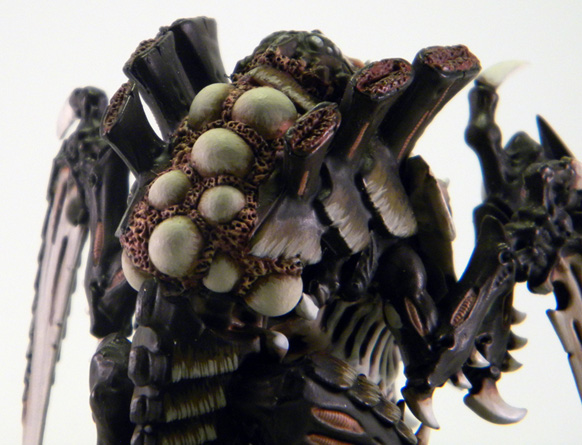
I got the idea that id like to make my own tervigon as they kick ass in game as long as you dont get a dubbel on any thing on the dice if you do so i will not get any more babys >_<. but any way i was looking all over the net to find a good way to make the eggs and i fond a lot of diffrent ways of doing this as well. but there was two ppl that i feel for rock hard for and one of them was steveprimebot here is his youtube video enjoy.


the other person that i found out there was Glaven and his awsome tervigon. I sent him a email to ask him how he hade made his eggs to the tervigon, and the
answer that i got back from him was better then i could imagen. He did a fantastic tutorial on how to make the eggs and as a bounes he showed diffrent typ ouf matirials as well. you can all this sweet ass godness here

http://www.glaven.net/2010/09/24/tervigon-egg-sacs/


well that is all that i have for now,

muffin