Visar inlägg med etikett Work log. Visa alla inlägg

lördag 7 februari 2015

Wip on NZ-666 repaired

Hi there,

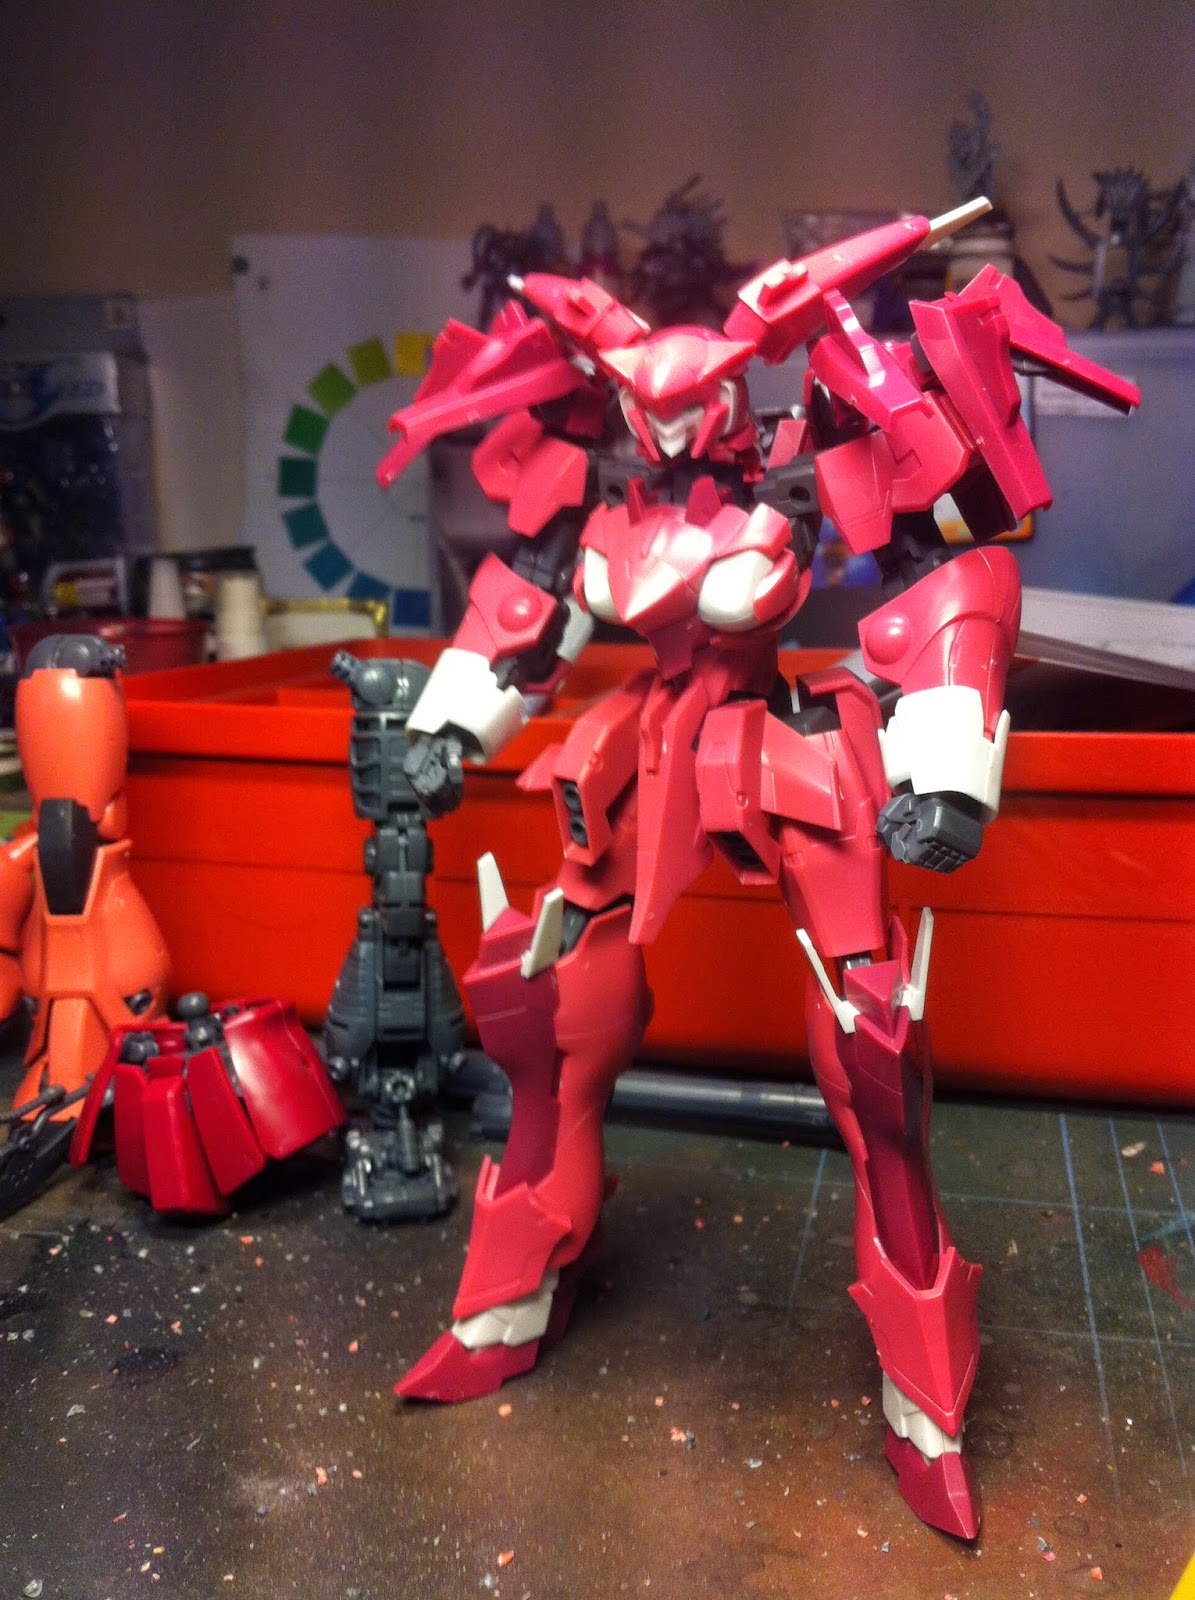
This is just a fast Wip post on what im working on now, it is the NZ-666 repaired. I plan on doing the studio colour schema on it but i will tweek it just a bit to give it a bit of me.

I like the green and i want to work some more on the green that i do. I give it more yellow to make it pop but i feel that it is not just there yet it can get a bit over bored and look more yellow then green. The strip on the back will not be orange on my i plan to make it magenta.  The axe will be blue not white I still cant paint white good and I want this model to look good. I plan to enter it in a competition this spring in Stockholm. I want to chip it up cuz to me it makes no sense that the mech looks so new. I want to give it that feeling that it has been in battle and almost got killed and when it came back to base it was just some limbs holding it in place.

but when i did a wip post on FB some ppl did not want me to chip it up i plan to paint it all up and then let the group wote what to do on it keep it clean or chip it up. It also feels good to get so many likes this early im not just to that sort of response, for the most part i post things here and some of you guys see it. I is a big motivation for me to paint now days and it also feels good that ppl like the mechs im working on so far it is only two but there will be more.

but here is the wip image and FB post it warms my heart to see all them likes :D


to the spring i plan on painting up the normal Version of the NZ 666 that is one mech that just gave me a bitch slap to the face when i saw it in gundam unicorn. One day i will try and get the Super G resin kit of this mech but i cant afford it now. 


torsdag 15 januari 2015

Zaku Tutorial 0.1

Howdy,

I have gotten a lot of questions about how I painted my Zaku. so this is my respond to all the questions from the base cote to the pigment ect i hope that this will awnser some of the questions. And also be to some sort of help keep in mind that you can apply this technique to all sort of models it works well for all table top minis.


If you have any questions just post them here or over at FB in this post and i will get back to you.

Tools


  • Paint brush
  • Sponge


Colours


  • Dwarf Skin (VMA)
  • Blood Red (VMA)
  • White (VMC)
  • Black (P3)
  • Cole Black (P3)
  • Dark Fleshtone (VMC)


Pigments


  • Crab. Black
  • Light Sienna
  • Chrome Oxide (green)
  • Broum Iron Oxide


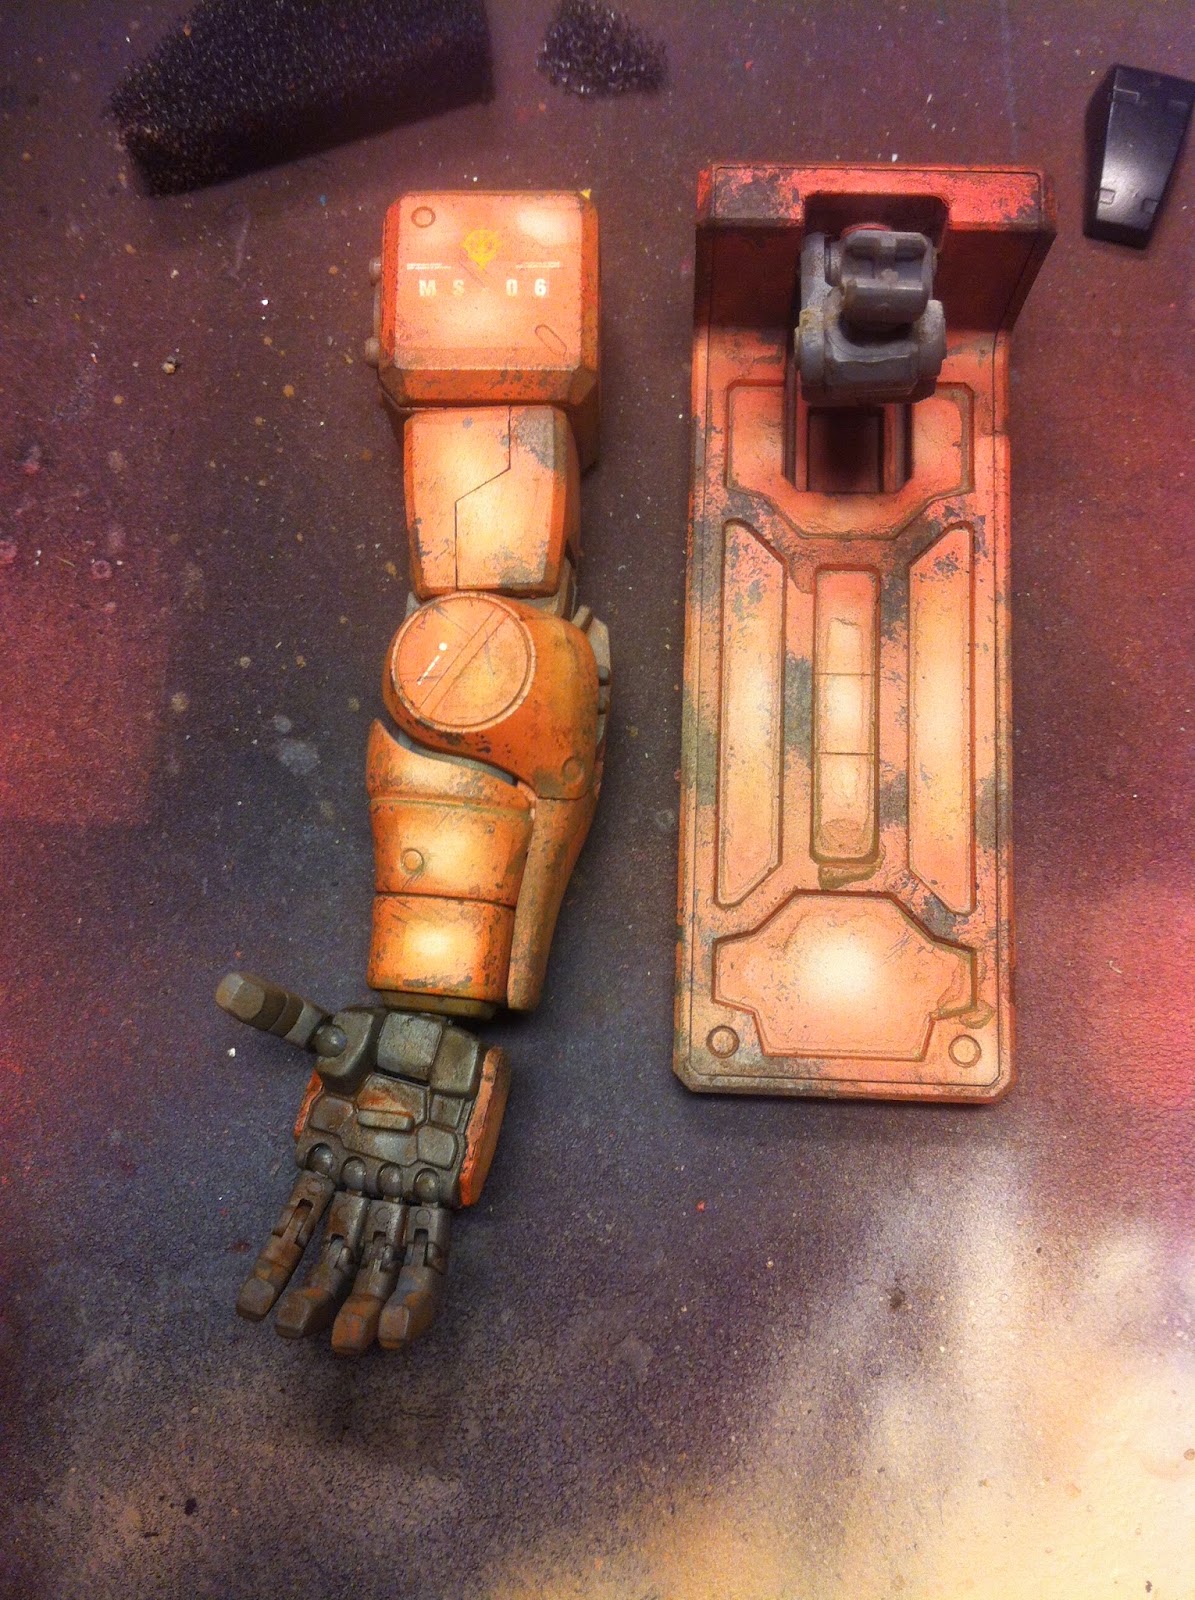
The base cote is a mix of Dwarf skin and Blood Red id say the mix is about 5/1 The red has strong pigments and i want to keep the colour in a peach sort of feel. If you look at the arm you can see that the mix was not perfect and that some parts have more red.

This is the first step i have dabd on all the colours whit a sponge. Make sure to apply the paint random and don't over load the sponge then you will get big blobs of colour and that will look bad. you can also drag the sponge randomly over the armour to get small lines. This will make it  look like scratches. (Colours: Main/ Cole black The rest: black, DF)

It is now time to give the armour it´s first layer high light this is done whit airbrush the colour is the base cote. It is important to keep it  nice and tightly. 

Now that the first layer is on it is time to put on the last high light this is a mix of the base colour and white 1/2. Now spray that on but make sure not to over spray it the previous layer you want to keep this layer a bit smaller. If you do over spray just go back whit the base colour and that should solve the problem.

now that all the Airbrushing is done it is time to work in some pigment. I start whit a thin layer of the brown pigment this is a good base to mix in the other colours. (Note: you can edit pigment but ones they are on you cant go back. There will always be some pigments left and this will change the colour a bit) I like to paint in my pigments so they are all wet this also makes it easy to mix them. now you just start to randomly mix different colours. To take back the white area i dry it of whit a Q-tip easy and fast you can also dab your finger if you like.
And this is how it looks when all the pigments are dry. You will get that nice dirt look and you can feel the gran of sand as well. If you want to over kill it you can apply some oil paint´s. just keep in mind that the oil will take longer time to dry and can be hard to work some times.


tisdag 13 januari 2015

Mini project

Hi,

I came home from work and was on cleaning mode and im not a big fan of saving old boxes of stuff. But i like the cover art of it so i did some cutting and tweeking. This way i can keep the best part of the box and also have some nice art up on the wall to look at. The side of the box works well as a fun post card.

This is what you need to do this.


  • A Frame
  • Scissors 
  • Box knife
  • Cutting board
  • Ruler


Zaku II and some more.

Hi there,

I know i have been a bit AFK from the blog Christmas and holidays but i have been doing some stuff now and then when i get the time. As you know i have been building some kick ass robots a lot of them are from the gundam series but not all of them. I love mech so i will try and build and paint diffrent things that i find cool.

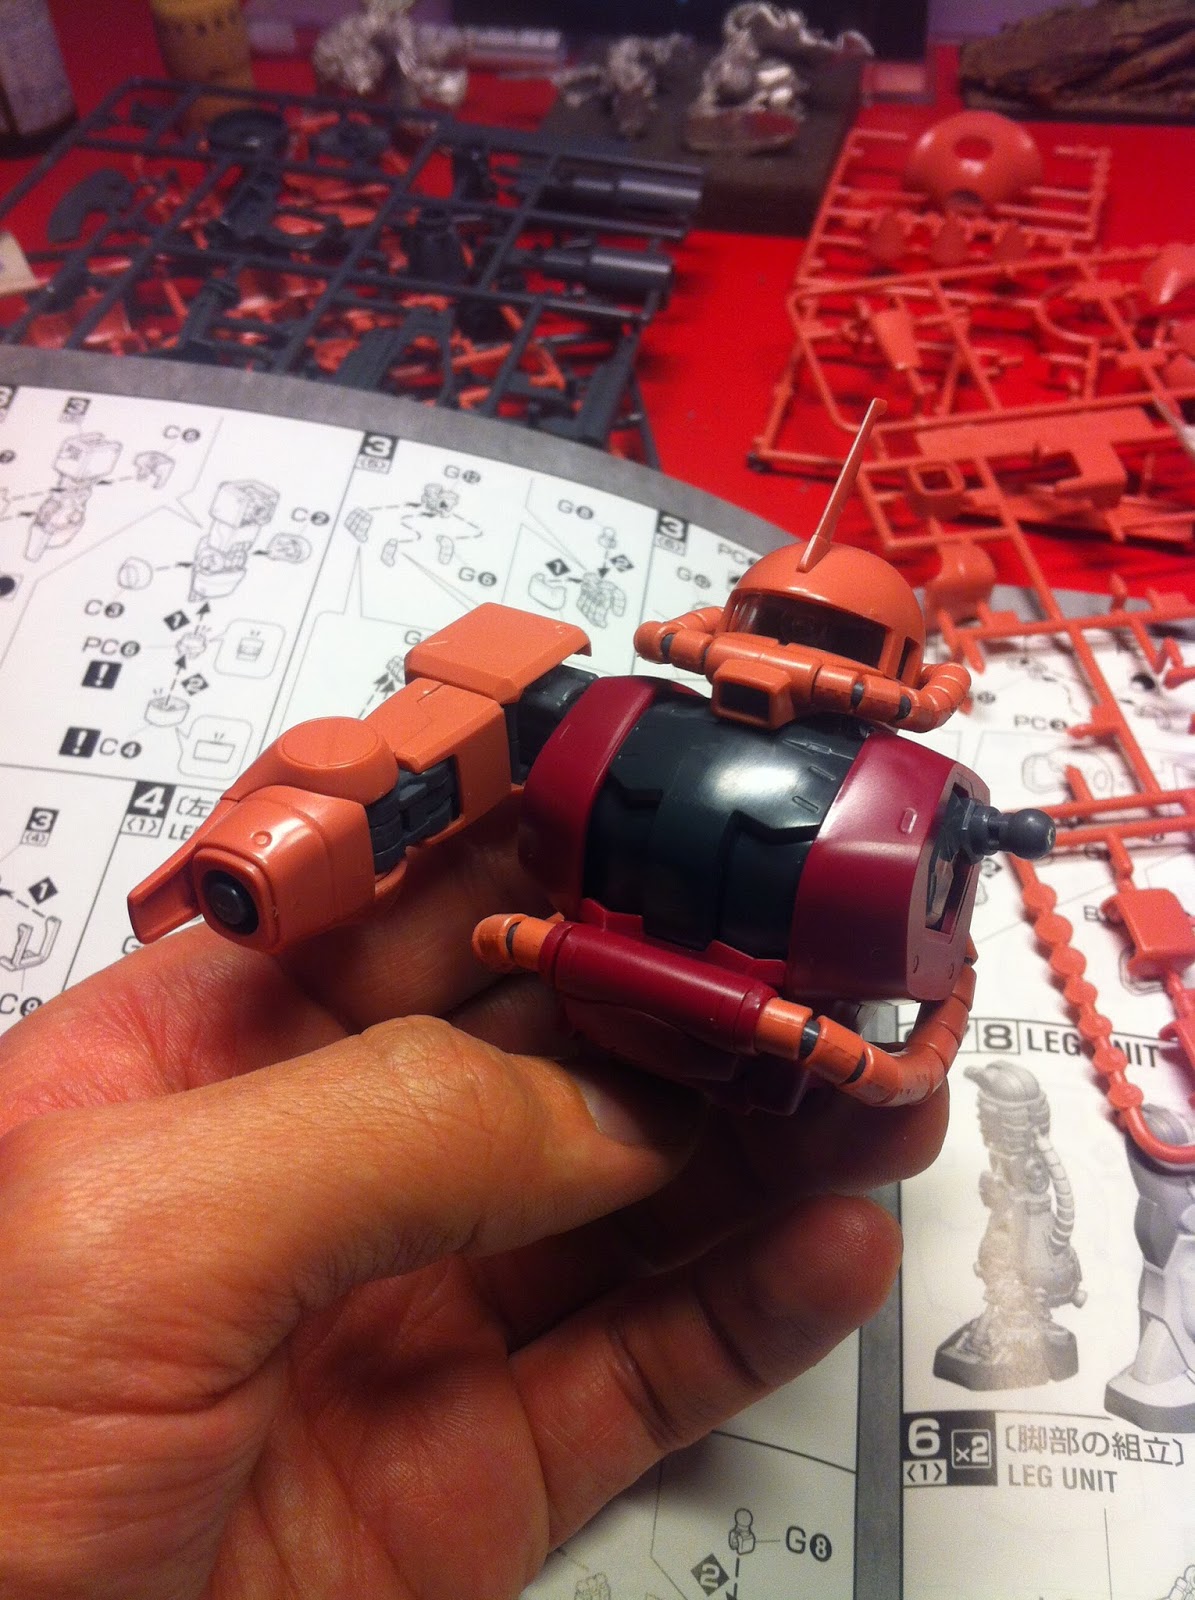
The Zaku is the first one that i have build and painted and he is still on the works. I have learnd a lot of new things when working on this models the Zaku is 1/100 so they are a bit bigger then the models that im just to work on. When it comes to painting this sort of models i know now why the have all them clips. I have been hand painting all the parts whit a tweezer and that was a pain in the but!!! I have some clips on the way now so for the next mech that i paint i will have them at hand.

Im really liking this models and i hope to get in to them more this year i have some goals that id like to achieve and that is to paint up the sazabi to a pro lvl and try and win gold at Stockolm Expo dont think that will happen but i will try my best and see what happens.

I have also built a Fream Arm mech it was a fast build (snap fit they all are) it was #003 ones i get the clips i will paint it up cuz i dont like the look of it now. it will get the same colours but a bit more in my own stile.

I have also done some pre work for a 1/144 model NZ-666 repaired this mech is a boss and it will be awsome to work on the NZ-666 resin kit when i get that later in the spring it is a massive kit and also a goal for 2015.

well that sort of sums it up a bit on what i have been working on now time for some images enjoy

love muffin :D  


tisdag 18 november 2014

Remot - Nomads

Hi,

Now one of two remote´s are done they have been fun to paint but  hard. It is fun to paint something that is not GW or PP the models are packed whit details so it is not easy to get all the small things there is also a lot of room to blend and that is something that i need to practise a lot more.

I feel that im pushing my self for every model that i paint and it feels good when they are done. I se a lot of thing that i can improve later but for a model that i will play the game they hold the stander for me.

im still having some problems whit the Airbrush and need to sort that out dont feel a 100% control for it and i think that the needle is bent :(


but there you have it the next one will look the same and i hope that i will get the blends better on that one.

enjoy muffin


onsdag 12 november 2014

Lizard TAG - Nomads (Infinity)

Hi there!!

Long time no post i know but i have had a lot of stuff in the way will do a long post later of what i have been up to and why i have not posted any thing in a long time.

But first id like to share what i have been working on this last few days over here. The Lizard TAG for Infinity they are getting a new rule book so now it is time to paint the all the things i have at home. I have for a long time wanted to paint this model for me you cant get any more anime mech and that is a soft spot for me i love the sculpt and have been dreaming to paint one up. So last week i got my self a Lizard and a week later it was done.

At first I was going to do the studio paint schema but then i feel id want to give it some of my own flavour so i did. I was also looking for some colours that are fast to paint and have that cyber punk/tron feel super important for me so black was the colour. I have never done any thing in black before so this was going to be a new challenge for me.


Prime it black

First layer of gray whit some black in it.

.::Quick tip::. this is how i do a quick mask. make sure you can hold it god whit your thumb.

First layer of green OSL for the face mask.

I block out the turkost and magenta part of the model, this was done whit brush.

Done some High lights on the colours i blockt out.

Mask out some parts whit tic-tac and tape so that i can airbrush.

Mask out some parts whit tic-tac and tape so that i can airbrush.

This is how she looks after the airbrush work. Had to go back later and fix some some parts of the model whit brush. 

OSL work on the small target lock system.

The back pack got the same colours as the target lock system, this was so that i would not mix in more colours and make it weird to look at.

Some warmahords game time mettal feel it was good to sleep in my gaming bag. after that nap he feel it was good to sleep on the cheer i sat on to.

Jazzt up the base whit some plastic card. was going for some sort of street in that world the plan was to make it gray. that all changed when i start to paint you will soon se what happens.

prime it black.

first layer of gray.

Now i changed my mind of the colour and not making it to a road but more in to some happy colour anime stile street.


to give it some more life and kick it up i took out my pigments and start to paint it. I have more pigment in the middel of the base as you can see. then i start to thing it out a lot and paint around the white part of the base. the pigment colours i use here are gray/light brown and green. I mix them randomly to make it look more real. Also i paint in the pigments wet and not dry as some ppl do.
This is how i mix and thin my pigments i only use water.


And this is how the Lizard looks, enjoy hope you enjoy the small work log if you have questions ask away in the comment section.